Definition and traceability
The NucleOSS Dental Implant System is an in-bone dental implant system with dental implants and related abutments, healing caps and surgical instruments. It is compatible with T6 and T6 Torq superstructures, T6 and T6 Torq dental implants and the T6 Surgical Set. Failure situations that may occur as a result of use with different systems may harm the patient. The product label gives the product code, specification and production date.
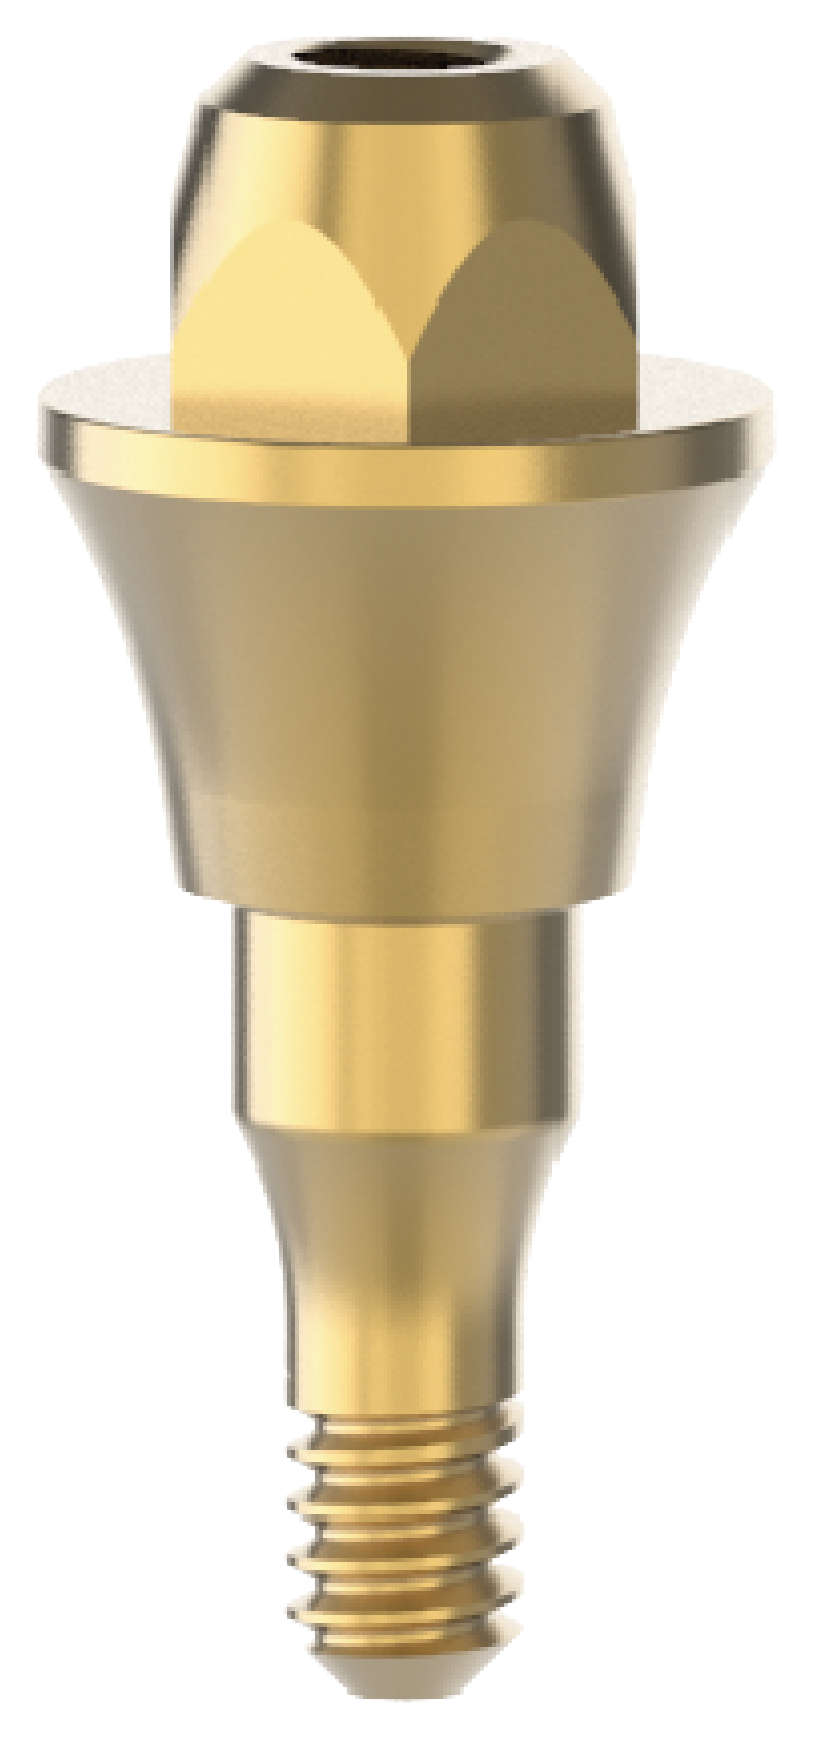
The system offers dentists a range of superstructure options for different purposes: cemented, screwed, customised, removable prosthesis, CAD-CAM solutions and scan bodies, as well as auxiliary prosthetic parts and temporary parts.
- Bases: abutments are placed on dental implants to provide support for prosthetic reconstructions such as crowns or bridges. See the catalogue for the superstructures compatible with the platform diameter and length of the abutments.
- Screws: the screw is used to fix the superstructure to the dental implant.
- Healing heads: healing caps are used in single-stage, transmucosal surgical protocols and are screwed into the dental implant, protecting the implant internal structure and not supporting a prosthetic superstructure.
- General information: most of the superstructures are suitable for use throughout the patient’s lifetime. Temporary abutments can be shortened to the implant screw level depending on the patient’s oral anatomy.
Traceability: each superstructure package has a lot number on it and contains three lot number labels. For retrospective traceability, it is strongly recommended that these labels are kept in the patient’s file together with the panoramic X-ray.
Intended use, indications and target users
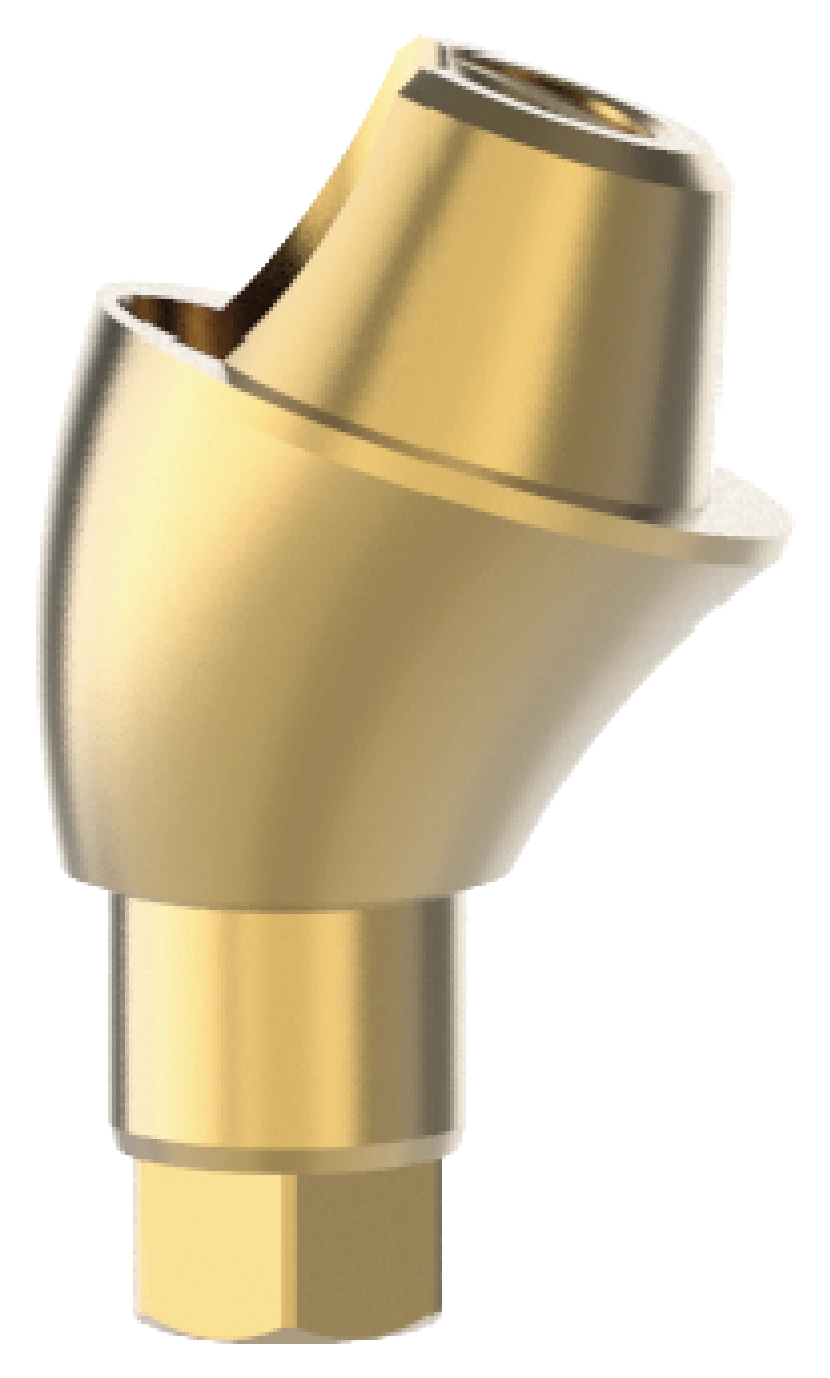
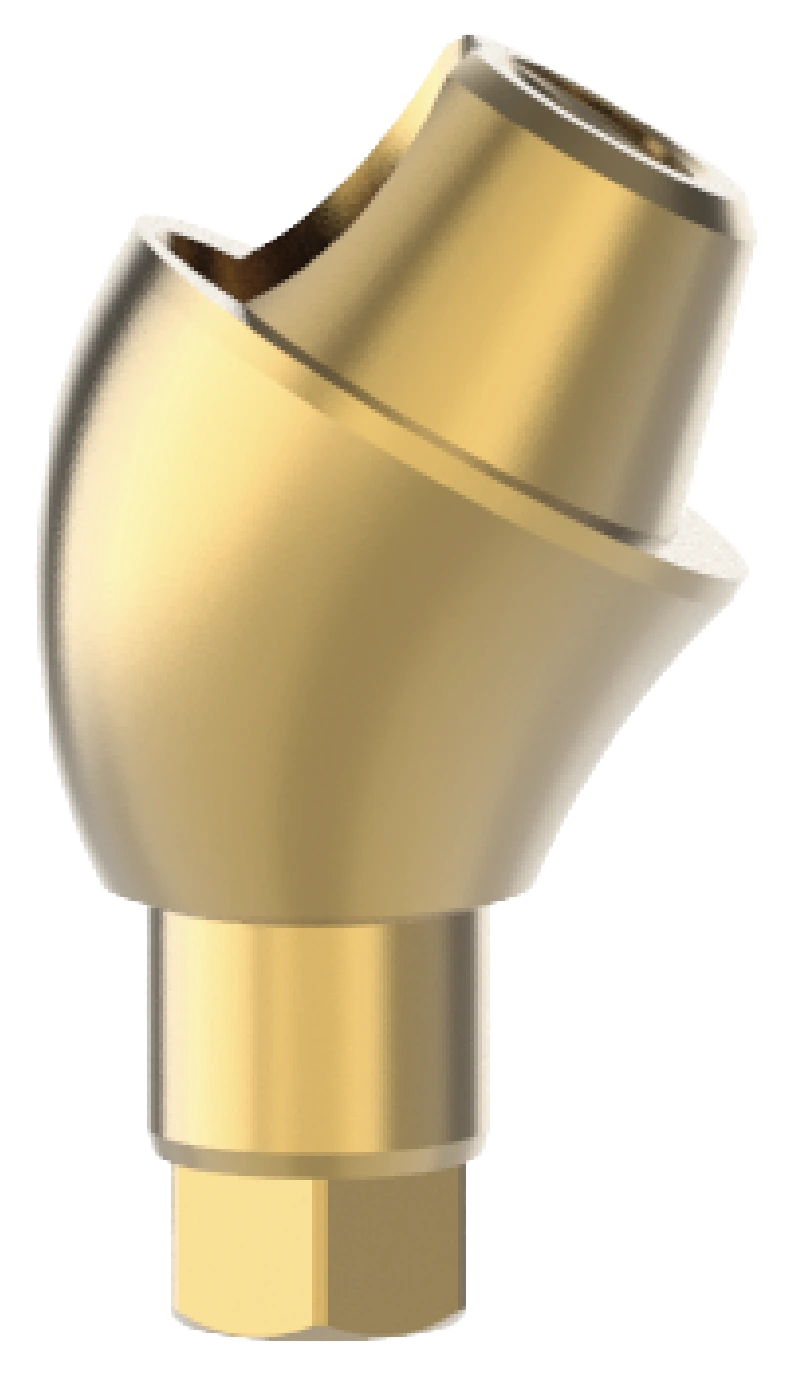
Intended use: multi-unit abutments are intended for use with NucleOSS dental implants in the maxillary and/or mandibular arches to provide support for crowns, bridges or overdentures for edentulous or partially edentulous patients. They are indicated for screw-retained restorations. They also offer a fixed denture option in edentulous patients.
The no-hex structure of the multi-unit abutment is recommended for use in bridge, bar and hybrid treatments. No-hex structures are used to provide the desired indexing in external tooth applications. All parts of multi-unit abutments used in angled or straight restorations are compatible with each other.
Indications: NucleOSS T6 and T6 Torq superstructures are prefabricated prosthetic components directly connected to endoosseous dental implants and are intended to be used as an aid in prosthetic rehabilitation.
Target patient population: people with adult jaw structure where none of the contraindications for dental implantation apply. Target users: dentists licensed in dentistry.
Materials
The multi-unit superstructures of the NucleOSS Dental Implant System are manufactured from Grade-23 titanium alloy according to the ISO 5832-3 standard and are offered for sale as non-sterile. They must be sterilised before use by the end user. Chemical composition of the titanium alloy:
| N | C | Al | O | Fe | V | H | Ti | |
|---|---|---|---|---|---|---|---|---|
| max | 0.05 | 0.08 | 6.75 | 0.20 | 0.30 | 4.50 | 0.015 | Balance |
| min | 0.00 | 0.00 | 5.50 | 0.00 | 0.00 | 3.50 | 0.00 | Balance |
The cleaning section also refers to PEEK and chrome-cobalt material: the disinfectant must not damage the titanium alloy (Gr 23), PEEK and chrome-cobalt material. Table 1 lists temporary (PEEK) parts and screws.
Contraindications
- High blood pressure, cardiovascular disease, diabetes, bone metabolism disorders, uncontrolled bleeding disorders, inadequate wound healing capacity, inadequate oral hygiene, serious internal medical problems, incomplete development of the upper and lower jaw, poor general health, uncooperative and unmotivated patients, drug, alcohol or smoking addiction, psychoses, functional disorders resistant to long-term treatment, xerostomia (dry mouth), granulocytopenia (lack of white blood cells), Ehlers Danlos syndrome, radiation therapy, osteoradionecrosis, weakened immune system, renal failure, organ transplantation, fibrous dysplasia, crohn’s disease, steroid, corticosteroid or anticonvulsant use, prophylactic antibiotics, creatinine, serum calcium, titanium allergy, uncontrolled endocrine disorders, anticoagulation drugs, haemorrhagic diathesis, bruxism, parafunctional habits, unfavourable anatomical bone conditions, uncontrolled periodontitis, temporo-mandibular joint disorders, treatable pathological diseases of the mandible or changes in the oral mucosa, pregnancy, breastfeeding, osteoporotic fracture, respiratory disease, thyroid or parathyroid diseases.
- Patients with active osteolytic, inflammation, diagnosed malignancy, nodular growths, tenderness, unexplained swelling of the head or neck, infectious conditions at the implant site.
- Unrealistic patient expectations.
- Unattainable prosthetic reconstructions.
- Inadequate training of the practitioner.
Warnings and precautions
Observance of precautions and warnings ensures safe handling and application.
- Use of the NucleOSS brand and sale of NucleOSS Dental Abutment System products are restricted to NucleOSS and its business partners.
- All models in the NucleOSS Dental Abutment system (T6, T6 TORQ) should be applied according to NucleOSS Surgical and Prosthetic protocols.
- It should be kept out of the reach of children.
- The abutment suitable for the patient’s oral structure should be used with the appropriate dental implant.
- The patient should be informed before and after the surgical operation.
- Abutments with damaged packaging should not be used.
- Make sure that the patient’s health condition is suitable for the operation.
- Abutments are sold as non-sterile. Before use, they must be sterilised by the user as specified in the instructions for use.
- Previously used abutments cannot be reused.
Points to consider
If the following warnings and precautions are not observed, complications may occur, such as the part entering the windpipe or swallowing the part.
During placement of the product, the dentist and auxiliary personnel must use appropriate personal protective equipment (PPE) to prevent the risk of interpersonal infection. The procedure should not be performed without gloves and masks.
For dental technicians:
- When polishing the abutments, ensure that the part entering the implant is protected, or perform this process with the abutment attached to the implant analogue.
- Place the abutment on the model by checking the correct orientation and make sure that it is fully seated.
- Fix the abutment with the abutment screw provided and tighten it with the torque values given in Table 1.
- After this stage, create the prosthesis suitable for the treatment and remove it from the model with the help of the correct hex key.
For dentists:
- The clinician should take the abutments from the laboratory and remove the temporary restorations, closure screws or healing caps from the patient’s mouth.
- After cleaning, disinfecting and sterilising the prosthetic parts from the laboratory, the clinician should apply them to the patient’s mouth by tightening them with a tightening piece according to the specified torques.
- If the superstructures are tightened more or less than the specified torque values, it may cause the abutments and/or implants to fail.
- The appropriate torque values for the use of superstructures are in Table 1 (see the tightening torques section below).
Before surgery: a clinical and radiological examination of the patient should be performed preoperatively to determine whether the patient is suitable for treatment and to determine the patient’s psychological and physical condition.
Special attention should be paid to patients with localised or systemic factors that may interfere with the bone or soft tissue healing process or the osseointegration process (for example smoking, poor oral hygiene, uncontrolled diabetes, facial radiotherapy, infections in the lateral tooth or bone, bisphosphonate therapy).
The device has not been evaluated in paediatric/adolescent patients and is not recommended for use in children.
Surgery: all components, devices and instruments used during the procedure must be kept in good condition, and care must be taken to ensure that the instrumentation does not damage implants, superstructures or other components. Following implant placement, the surgeon’s assessment of bone quality and primary stability determines when the implants can be loaded. The choice of superstructure and the time of application should be evaluated.
NucleOSS superstructures are medical devices that do not require installation. It is strongly recommended that specialists who will use NucleOSS superstructures for the first time receive training from NucleOSS. For more information, contact NucleOSS dealers or representatives, or NucleOSS by e-mail at info@nucleoss.com.
After surgery: to ensure a long-term treatment outcome, regular comprehensive patient follow-up after implant treatment is recommended, with the necessary information on proper oral hygiene.
Residual risks and side effects
The clinical outcome of dental treatment can be influenced by many variables. Possible residual risks and side effects may occur during or after the operation:
- Pain, swelling, phonetic difficulties, gingivitis.
- Dental implants, permanent paresthesia, dysesthesia, marginal bone loss, localised or systemic infections, oroantral or oronasal fistula, disruption of adjacent teeth, irreversible damage to adjacent teeth, implant fractures in the jaw, bone or prosthesis, nerve damage, exfoliation, chronic pain associated with hyperplasia, implant failure, fractures in the neck area where the implant and abutment meet, screw loosening or fracture, abutment fracture, abutment compression into the implant.
Product references and Basic UDI-DI
The device is compatible with T6 and T6 Torq dental implants and superstructures and the T6 Surgical Set. See the catalogue for compatible superstructures. The procedure also uses the manual hex key T0 25251, the occlusal connecting screw T6 16009 and the tightening wrenches T0 2024 and T0 2025 (step 15.4).
| Reference | Description |
|---|---|
| T0 25253 | Manual hex key (procedure step 15.3.1) |
| 869938335MA79 | Basic UDI-DI: Multi-Unit Abutment |
| 869938335TMA2L | Basic UDI-DI: Temporary Multi-Unit Abutment |
| 869938335MTA26 | Basic UDI-DI: Multi-Unit Tibase Abutment |
Tightening torques
Tightening torques for the superstructures are given below; covers and healing heads are tightened by hand or with the ratchet (10 Ncm). If superstructures are tightened more or less than the specified torque values, the abutments and/or implants may fail. A further maximum of 20 Ncm applies to the occlusal screws of the total prosthesis (step 15.4.2).
| What | Torque | Note |
|---|---|---|
| All Covers and Healing Heads | 10 Ncm | By hand or with the ratchet. |
| All Simante Abutment Screws | 30 Ncm | Maximum. |
| Temporary (PEEK) Parts and Screws | 10 Ncm | |
| Multi Unit Bases | 30 Ncm | Maximum. |
| Abutment Occlusal Screw | 20 Ncm | |
| All Cap Screws | 10 Ncm | |
| All Universal Cast Screws | 30 Ncm | Maximum. |
| Knob Abutments | 30 Ncm | Maximum. |
| Equator® Abutments | 30 Ncm | Maximum. |
| CAD-CAM Ti-Base Abutment Screws | 30 Ncm | Maximum. |
| Occlusal screws of the total prosthesis (step 15.4.2) | 20 Ncm | Maximum, using the tightening wrenches. |
Procedure overview and total treatment with temporary titanium caps
NucleOSS multi-unit abutments have their own superstructure options for impression taking or prosthesis construction. Once the abutments are placed on the implants in the patient’s mouth, they do not need to be removed again.
15.1.1. Placement of temporary titanium caps on the abutment:
- The comfort caps on the multi-unit abutments are carefully removed with a hex key.
- The temporary titanium caps are carefully placed on the multi-unit abutments in the patient’s mouth. The occlusal screws are inserted into the multi-unit abutment by passing them over the temporary titanium caps with the help of a manual hex key.
- After the temporary titanium caps are placed on the multi-unit abutments, the caps are marked.
15.1.2. Preparation of the acrylic dental prosthesis:
- After the caps are marked, acrylic teeth are prepared and holes are made on the marked areas of the dental prosthesis to fit the caps.
- The acrylic total denture with holes made is placed on the temporary titanium caps in the patient’s mouth. The remaining parts of the abutment on the prosthesis are marked and cut.
- After the temporary titanium caps are shortened, they are placed on the multi-unit abutments. The acrylic dental prosthesis is also placed on the caps and checked. After the necessary corrections are made, occlusal screws are inserted.
- Liquid acrylic is poured into the gap between the temporary titanium cap and the drilled acrylic dental prosthesis and left to cool.
- After the liquid acrylic has set, the occlusal screws are removed and the total prosthesis is removed from the mouth for tooth correction and the procedure is completed.
Total treatment with burn-out caps
15.2.1. Placing the burn-out caps on the plaster model:
- Before placing all burn-out caps, one of the caps is placed on the multi-unit analogues on the plaster model to ensure that the plaster, analogue and cap are compatible. Then the occlusal screw is inserted into the analogue through the cap with the help of a manual hex key, making sure that it is completely seated.
- The other burn-out caps are placed on the multi-unit analogues on the plaster model and made sure that they are fixed. The occlusal screws are carefully placed with the help of a manual hex key.
15.2.2. Preparation of the wax model:
- After the burn-out caps are fixed to the analogues, cutting is performed up to the maximum occlusal screw level according to the dimensions of the dental prosthesis to be created. The prosthesis teeth model is prepared with wax on the cut burn-out caps.
- The occlusal screws are removed, and wax channels are placed over the formed wax model to create a casting path.
- The wax model is removed and placed on the flask.
15.2.3. Creating the total tooth prosthesis:
- Close the wax model tightly while it is on the flask and pour the liquid investment into the cap. After the investment has dried, the investment and the molten metal are placed in the centrifugal casting device and the molten metal is injected into the mould.
- After the molten metal has cooled down, the metal tooth model is created by breaking the investment.
- The excess parts of the metal tooth model are cleaned, and sandblasting or polishing processes are performed.
- The metal dental prosthesis is placed on the analogues in the plaster model and occlusal screws are attached.
- Processes such as coating and polishing are performed on the metal dental prosthesis.
- After the controls and corrections are performed on the total dental prosthesis, the prosthesis is removed by unscrewing the occlusal screws.
Open and closed tray impression parts
15.3.1. Measuring:
- If the patient has a temporary prosthesis in the mouth, it is carefully removed with a manual hex key (T0 25253). If there is a comfort cap on the multi-unit abutment, the comfort cap is carefully removed with a manual hex key.
- Make sure that there are no particles or soft tissue on the multi-unit abutment platform.
- Depending on user preference and clinical situation, the impression taking parts are carefully placed on the multi-unit abutment according to the impression taking technique to be applied (open tray or close tray).
- Before the tray is placed in the patient’s mouth, an elastomeric, which is a dense impression material, is placed in the impression tray.
- When the material has cured and hardened, the mould is removed from the patient’s mouth with the impression tray.
- To prevent any substance from entering the multi-unit abutments, a comfort cap is placed on each and tightened with a hex key.
15.3.2. Creating the plaster model:
- The multi-unit analogue is carefully placed on the impression part in the tray and fixed with the connection screw.
- Pour plaster into the measuring tray and wait until the plaster is cooled.
- After the plaster has set, the impression tray is removed, the impression parts are removed and the process is completed. The burrs on the prepared plaster model can be cleaned and the prosthesis can be made.
- The prepared total prosthesis is tested on the plaster model and the passive fitting prosthesis is sent to the clinic together with the plaster model to be placed on the patient.
Placing the total dental prosthesis in the mouth
- The total prosthesis is placed in the patient’s mouth and occlusal screws are inserted into the abutments with the help of a manual hex key. Manual hex key: T0 25251; occlusal connecting screw: T6 16009.
- The occlusal screws should be torqued to a maximum of 20 Ncm with the help of tightening wrenches. The figure labels the tightening (torque) wrenches T0 2024 and T0 2025.
- Finally, the screw hole in the tooth occlusal is covered with teflon and filling material is applied and hardened, in case the total prosthesis is to be removed in the future.
This procedure should be considered a minimum guideline; details are in the NucleOSS Surgical Manual (https://www.nucleoss.com/kaynaklar/download/).
Cleaning, disinfection and sterilisation
NucleOSS T6 and T6 Torq superstructures are not sterile when delivered. The product must be cleaned, disinfected and sterilised before the superstructures are placed in the patient’s mouth. All superstructures of the NucleOSS Dental Implant System are offered for sale as non-sterile and must be sterilised before use by the end user.
Cleaning and disinfection steps:
- Wash the superstructures inside and outside with a soft bristle brush under running water.
- Disinfect the superstructures with a suitable disinfectant that will not damage the titanium alloy (Gr 23), PEEK and chrome-cobalt material.
Before sterilisation, place the superstructures separately in sterilisation bags. Sterilisation conditions for titanium superstructures:
| Parameter | Value |
|---|---|
| Method | Moist heat sterilisation according to ISO 17665 |
| Cycle | Pre-vacuum |
| Temperature | 132°C / 270°F |
| Exposure time | 4 minutes |
| Pressure | 2.2 Bar |
| Pre-vacuum | 3 times < 60 mBar |
| Minimum drying time | 30 minutes indoors |
- After sterilisation, the products must be used immediately.
- A minimum valid sterilisation time and temperature is required to achieve a sterility assurance level of 10⁻⁶.
- The sterilisation parameters and methods shown are validated by NucleOSS Dental Implants.
- According to EN ISO 17665, the ultimate responsibility for the validation of sterilisation techniques and equipment is directly associated with the processor. All autoclaves/sterilisers must be maintained and validated in accordance with EN ISO 17665.
- For implant sterilisation information, refer to the implant user manual.
MR safety information
Non-clinical testing has shown that the NucleOSS Dental Implant System is “Conditional MR”. The patient can be safely scanned with this device immediately after placement under the following conditions:
- 1.5-Tesla and 3-Tesla magnetic static field.
- 4,000-gauss/cm (40 T/m) dimensional gradient magnetic field.
- Maximum reported MR system average specific absorption rate (SAR) for the body 2 W/kg.
Storage and disposal
Improper storage may jeopardise the basic material and design characteristics and may cause the device to malfunction.
Disposal of the device must comply with local regulations and environmental requirements, taking into account different levels of contamination. Hazardous waste from contaminated devices or sharps must be disposed of in appropriate containers that meet specific technical requirements.
Patient information, clinical benefit and safety reporting
- The patient should be informed about contraindications, warnings, precautions, side effects and complications of NucleOSS dental implant systems.
- There is no residue, leakage or harmful residue on the surface of the device that could harm the user or the patient.
- The patient should be informed about the MRI compatibility of the NucleOSS products used.
- The surgical site should be kept clean before and after the operation, and the patient should be well informed about its cleanliness.
- The area where the implant and superstructure are placed should not be exposed to load with chewing movement in the early period.
- For detailed information, refer to the Patient Information Booklet (https://www.nucleoss.com/hastaya-ozel/).
Expected clinical benefit: patients can expect to have one or more missing teeth replaced and/or crowns restored to restore chewing function.
Summary of safety and clinical performance: with the launch of the European Medical Devices Database, a summary for NucleOSS T6 and T6 Torq bodies will be available at https://ec.europa.eu/tools/eudamed.
Serious adverse events: for the patient, user or third party in countries with Regulation 2017/745/EU on Medical Devices, if a serious adverse event occurs during or as a result of the use of this device, notify the manufacturer and your national competent authority. Manufacturer contact for reporting: NucleOSS, e-mail info@nucleoss.com. See the full instructions (PDF) for the web address.
Symbols
See the full instructions (PDF) for the symbol graphics.
- Product catalogue number
- Authorised representative
- Product lot number
- Read the operating instructions
- 2nd time not used
- Expiry date
- Do not use if the packaging is damaged
- Manufacturer
- Not sterile
- Prescription use only
- Medical device
- Distributor
- Producer country
- Warnings
- Unique device identifier
- Model number
- MRI safety information
- Importer
- CE marking: the manufacturer’s declaration that the product meets the requirements of the applicable EC legislation; where applicable, the identification number of the Notified Body follows the symbol